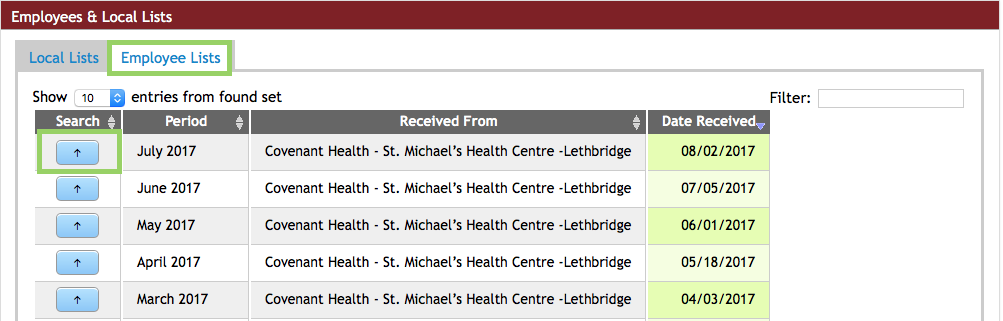
Only those with Employers that provide UNA with an electronic file copy of Employee Lists will see the lists in this section. Not every local will find information included in this category since not all Employers provide of such data. The Employees Lists option covers many more people than you have in your own local. Selecting the option displays a table of the available employer lists for your local.
Select the list by clicking the Up Arrow button.
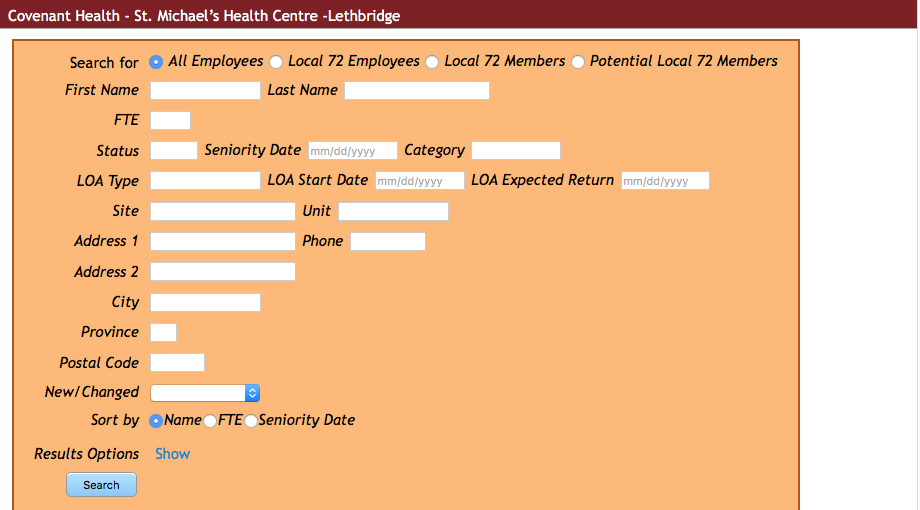
This step opens a new window and shows the search options included. If desired, open more than one file at a time for comparison of two lists.
The text in yellow gives the date of the information being searched to help you recognize the accuracy of the results.
The settings at the top – the Search for tab – let you search the Employer lists in 3 ways – All Employees, Local XXX Members, and Potential Local XXX Members. The third option is your first step in recruiting new members. It identifies people working in positions that qualify them as potential members of your Local. Note that if you search the file with the default All Employees you get information for anyone working for the Employer.
Since you can enter a Site or Unit value into your search you can produce a list giving the people assigned to a particular unit. Be aware that the result depends on which of the three options you have selected in the Search for field. Also, you need to match the terms used by the Employer.
The Results Options are not visible until you use the Show button. The box opens to reveal several choices. Do not hide these choices until after you are done using the search results.
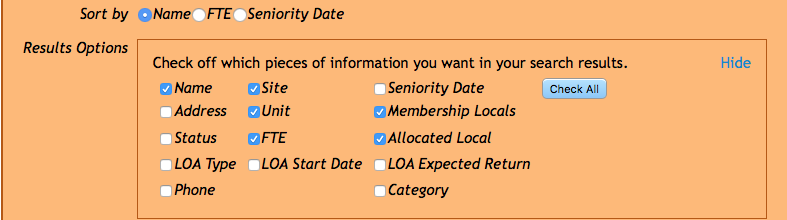
Click the check box to add or remove an option.
Note that if you have an Employer with a large number of Employees, this type of search will take some time to complete.
Remember that you are working in a new separate window. Close the window when you are finished searching the Employer List to move back into the DMS.
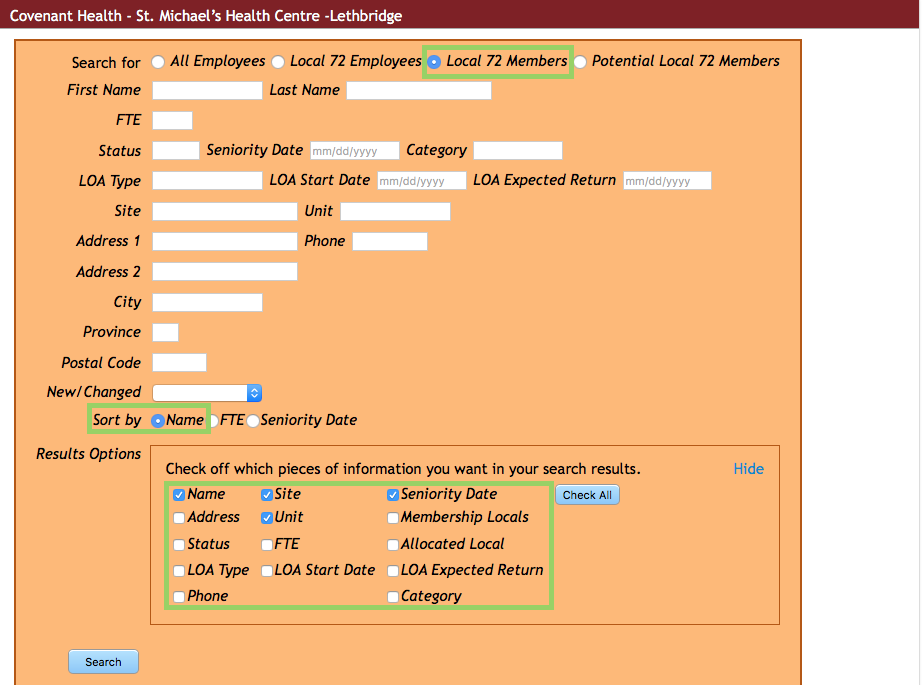
Example: You wish to post in each unit the seniority ranking for your local members.
Restrict the search to the Local XXX Members.
Ignore the fields that are open.
You can leave the Sort by Name.
In Result Options select Name, Site, Unit, and Seniority Date.
Change the Show entries option to All.
Click on the column labeled Unit to have the sort appear by Unit.

Copy and paste from the Unit designation into the Filter field a unique portion of the Unit entry to all the filer to isolate the appropriate unit.
Print the result noting that the table will show how many entries from the total you have located. Print to if you want to keep an electronic copy of each list. Print to paper if you want only a hard copy of the list.
Be sure to remove the entry from the Filter before proceeding to the next unit.
